Bathroom Reveal

I can't quite remember if I've ever posted a BEFORE picture of the bathroom we have been working so hard on...well in case I haven't...here is the before shot of our guest bathroom:


And without further adieu....here is the AFTER....in all it's SPLENDOR (yes I'm in LOVE):


 I really couldn't be happier with the way it turned out. And to think I did 98% of the work on my own! I must say...I am one proud chica :) The paint colour I used on the walls is Benjamin Moore White Dove.


 There are still a few small odds and ends to pull together to bring it to completion...a couple areas to re-grout, a small area on the wall to sand and repaint, and of course I MUST buy that gorgeous Anthro shower curtain I've been drooling over. I have literally gone in the store 3 times...picked it up and put it down right before making it to the checkout. On my student budget I can't really talk myself into the $115 price tag...just yet!


The wall art was an easy choice for this bathroom! My mom passed down these two sailboat sketches to me on our last visit home. I am SO happy I get to have them....I always loved and admired them growing up...thanks MOM!


 The Mirror is a VERY old antique I picked up on a recent trip to one of our local antique malls. It just so happens that I have TWO antique malls within walking distance of my University classes...look out :)


Now that I can look back on it, I realise how fun this project actually was. I learned so much about tiling and plumbing! And I actually am going to be looking for another antique dresser to turn into a vanity for our master bathroom very soon!


Here is a breakdown of the cost:
*Antique vanity $35
*tile - free...thanks Dad and Leah
*grout, mortar, & tile supplies $100
*paint & paint supplies $50
*Antique Mirror $120
*Light Fixture (Martha Stewart, Home Depot) $79
*Faucet $189
*Sink (American Standard) $134
*Plumber (to fix the things I couldn't) $175
GRAND TOTAL: $882

Since we spanned this project over a month and a half it didn`t seem to cost a whole lot. Kitchens and bathrooms are so important in a house. Especially for resale. They can also cost a lot more to remodel. I can honestly say I probably wouldn`t have even started a project like this without the incentive of free tile! And luckily, since we spent nothing on the tile, I was able to splurge on the sink, faucet, and mirror! I think when I do our master bath I will try and keep the budget at $500...now that will be a challenge...but who doesn`t like a good challenge every now and again!

Antique Dresser turned Vanity

Hopefully in less than a weeks time I can show off the final reveal for this bathroom makeover! The vanity and floor are complete! Plumbing and all! The only things I have left to tackle besides a few odds and ends are a new shower curtain (hoping to get another pretty Anthro one), a vanity mirror, new light fixture, and PAINT!!!!
Here is a somewhat tutorial on how to transform a dresser into a custom vanity!
First things first...since I am not putting a slab of marble or any other hard surface on top of this piece, I made sure I lacquered the dickens out of the top of it so it could withstand a lot of splashing and water droplets in the years to come! Once dry, I took the sink 'cut-out' template that came with the sink and made a few modifications of my own (specifically, I made the 'cut-out' quite a bit smaller, so the strength of the vanity would be less compromised. I wanted to be able to cut out JUST ENOUGH for the sink to fit snug :)

I cut out the center of the template, so I had a mock paper sink, and the center was the area of wood to be removed. I secured the template with painters tape and traced the inner square onto the dresser. 
I actually had step-by-step photos of how to do all this but I think I accidentally deleted them in the process  :(
After the square was traced, I removed the template and drilled a hole inside the square so that my skill saw blade had somewhere to start the cut-out process....I then pushed the saw towards the line drawn cut-out and trying my VERY BEST to stay on the lines, cut out the square.


Voila! I'm pretty proud of myself :) As you can see (ahem...the right side of the cut-out), it's not perfect! But it did the job because when I took that sink and plopped it in the hole, it FIT!!!! First time was a charm in this case (this never happens for me)!!!!


I assembled everything up in the bathroom and called a plumber to re-attach the pipes. I could have done this part on my own, but after tackling the toilet myself, I thought I'd sit back and watch on this one :P
As you can see, the walls are still needing paint, and that's the very next thing on my list.
Refitting the drawers was pretty easy as well. Using a measuring tape, I marked where the pipes were on the wooden drawers. Then I took my same handy skill saw and cut out space for the pipes. Using some 1/4" wood I made new drawer edges on the inside of the drawers, using a combination of glue and the odd nail to keep them in place.


I can't wait to tie all the odds and ends together in this bathroom. I love looking at it and knowing that we put the whole thing together. So far the WHOLE project has cost us less than $500!


I'm also seeking your opinions on this one little detail! These pretty antique looking faucet handles came with FOUR combinations as options!!! Stainless or Antique ceramic? English or Francais? (I kinda like the french writing for a touch of whimsy...so I think I'm sold on that idea)...but I really want to know what you think about the two handle finishes??

Stainless?


Or antique ceramic?


I start my last university semester next Wednesday so I NEED to get myself in gear and paint BEFORE I get swamped with biology homework! Someone please light a fire under me :)

Also, any thoughts on paint colours? I'm definitely going with a sort of white in here. Since there are no windows I want to keep it airy and fresh...but I'm wondering what undertone will compliment the mix of cream in the dresser and cool greys in the tiles?
~Happy Long Weekend Everyone~

Bathroom Update

I have to be honest and admit that what I thought would take a weekend has turned into a 3 week ordeal! The tiling part was by far the easiest part of this reno believe it or not! Since we are SO close to crossing the finish line on this one I thought I would do a quick update on the floor portion and leave the final reveal for a later day.
Since our home is only 5 years old I was told the glue under our linoleum would still be a little soft and therefore it would be much easier to screw in a thin sub floor over top of the linoleum than to peel it up and scrape off all the glue. SO we gutted the bathroom (to find a plumbing nightmare...which I won't bore you with but I will say this: make sure you have shut off valves installed to the water lines supplying the sink if you don't plan on installing a new sink right away!) Then I screwed down a sub floor with 1/4" plywood.


The sub floor took no time at all and by raising the floor 1/4" plus the thickness of the tile I also had to make two other adjustments when the floor was all said and done: shave down the bottom of the door to allow room for the door to fit and add a closet flange extension to the toilet so that the flange would be flush/a little above the newly installed tile (I am an expert at installing toilets now LOL).

A cool trick I learned while helping Tony install our hardwood floors is that in order to get the new floor to fit nicely under the door jams is to put a small piece of the new floor plus the sub floor up against the door jam so you have the new floor height. Then take a saw (there are much easier saws to use than the hand saw I used) and rest it against the top of the sample piece of floor and saw horizontally.


The saw I used took a lot of elbow grease but its flat large size actually helped me saw a straight line and eventually once you get through the wood it takes a little wiggling and the piece should fall off...


Here's a good pic of the piece that once you pull it out, your tile slides right under for a nice seamless fit (once you caulk of course :)


Hey lookie who is helping me? Yes a rare sight but I had to snap a photo of this! Since it was our first time laying tiles and they are so small and staggered we laid them all out first, numbered them with chalk and did all our cuts before starting to lay them onto the mortar. We also bought this great little wet tile saw from Home Depot for only $64! Since we plan on tiling 3 bathrooms in this house I figured it was worth the investment.


I also installed new 5" tall baseboard to match the new baseboards in the rest of the house....and
TA DA!!!!


It's definitely not perfect but it really does look pretty good and I'm pretty proud of all our hard work. I still have to re stain the room divider since when I pulled it up from when it was on the linoleum the hidden ends which are now exposed need some colour.
I can't wait to get a plumber in this week to extend our pipes up to our new vanity and sink and show you the other half of this transformation!

Sink or Float?

I have been a busy bee over the past few days and I thought I'd update everyone on our bluestone floor reno! All I can say at this point is that it turned into a WAY bigger job than we expected and I actually swore the other day that I never wanted to pick up a tile or mortar again for as long as I live LOL! Okay I already take it back. BUT I am really needing everyone's help on making a certain decision....
SO we ripped out our old contractor's stock vanity and here is the new antique dresser turned vanity we are replacing it with...remember this before picture from our trip to Victoria?


Here's her debut with a new coat of paint...the two bottom drawers have a slight mint tint to them and the rest of the piece is a gorgeous cream....complete with pretty crystal knobs...


Now here is my dilemma...I cannot for the life of me make up my mind between the following two sinks...
they look quite similar, but there are a few differences which are really making the choice difficult for me...and I really would LOVE your input on this one!

Here is the first one.


pros about #1: its smaller, so there is more counter space, I have to cut a MUCH smaller hole in the counter top to place this one which will help keep the top of the dresser strong and sturdy
cons: it only has one hole for the taps which means I have a lot less choice for the taps and I cannot have those pretty faucets with two handles, and the inside of the bowl is a modern scoop shape which I'm not loving.


Here is number 2
pros about #2: it has 3 holes so I can pick out a very nice faucet! (which seems pretty important to me for the final look and I have a lot more choice of faucets)
cons: I have to cut a much larger hole in the top of the dresser which I worry will compromise the strength of the dresser. However the wood on the top of the dresser is decently thick and sturdy feeling.

SO which should I choose? The one which will maintain all the strength of the vanity top and settle for a less attractive faucet?
OR pick the sink which involves a larger hole to be cut possibly compromising the strength and get to pick the faucet I want?
If anyone has any expertise on this or has done this before how much does a bigger hole compromise the strength of the counter top?
I SOOOOO look forward to hearing what you all have to say!

Bluestone Floors

As far as stone flooring goes, white carrara marble makes my heart go pitter patter. I have been putting money in a jar for a long time now so that one day we can redo our master bathroom floor in this gorgeous marble stone. BUT I think I have another favorite now!!! Has anyone heard of Bluestone? Well I sure hadn't! When we were home in Victoria, my step mom Leah offered us their leftover honed bluestone tiles they had! And we all know you can't beat free!!! Here are a few pics of this gorgeous stone in action in case you are like me and had never seen it befor LOL!


I love the stone against white walls!


Here is a photo of our new tiles...they are in very long rectangular bricks on a sheet...so we can stagger them nicely. At first Nathaniel wanted to do a feature wall with them, then I thought of doing a bathtub surround, however we have the type of tub with the acrylic surround all in one piece. So I decided it would look great as the new floors for our second bathroom upstairs.


This seems like a pretty big project for me so even though I'm majorly excited to get started, I am a little bit nervous! I have never done tiles before so I need to do my homework on this one!Any tips or tricks would be great:) I also plan on removing the old vanity and putting an antique one in I just refinished...and since the antique vanity has caster wheels I will be going all the way under the vanity with the tiles.

Ship Wheel

What would my dream dining room look like?...sigh...this...


In Other News: Today I was out picking up something for dinner and I popped into one of my local thrift stores and low and behold I found this....(normally they have quite the price tag...this one was $20!!). Funny thing is when I got it home Nathaniel said "What the ____ is that for ??" LOL...I should have told him I wanted to build a boat in the backyard :)


I have liked antique ship wheels for awhile now and always wondered about all the voyages and the story behind each one! So I get it home and immediately start painting it...then I changed my mind and painted it with turquoise and white interchanging stripes...and finally brought it back to white again (with a little turquoise peeking through :P). Then I googled ship wheels to see if I could find some great inspiration...and BOY OH BUOY was that a let down! Apparently not many people decorate with these guys!...and if they do (sorry in advance for saying so) their decor is less than inspirational!
I searched on DecorPad, Google Images, Blogs and came up empty handed. This was the CLOSEST I could come to an inspiration photo...


SO after all the coats of paint had dried and I had had my fun with the sandpaper...here is what it looks like...


I actually love how it turned out...and I also like the departure from my usual painting or mirror on the wall.


I even thought if I replaced that rosette in the middle with a pretty rose made of fabric or lace or something a la Rachel Ashwell that would just make it even more unique....


I also wanted to ask YOUR opinion on this one (even if you don't like them)...do you like where I put it? OR do you think it would look better on a wall in another room, leaning on the floor against a wall, or on top of a dresser (leaning against the wall)....or if you have any other ideas (excluding the garbage LOL) please feel free to suggest! One thing I DON'T want is to look like I have a theme room...so as far as beachy and nautical things, the ship wheel and my wall of ship and beach paintings is where it ends in this room. To mix it up I have my super pretty chandelier and a few other whimsical and girly touches.

My New Favourite Painting!

I am always on the hunt for gorgeous artwork to fill our home with. Oil paintings and sketches are my two favorite styles and I'm so excited to share my most recent addition to my collection! Nathaniel, my very own king of surprises, picked me up this amazing oil painting when we were home in Victoria~


The artist's name is Yves Gosselin and he is the father of one of Nathaniel's best friends. He is amazingly talented and I WISH he had a website of some sort so I could let everyone see his other pieces he has for sale. He is so humble and although he has been featured at the Victoria Art Gallery he still only sells out of his home and by word of mouth. He has many beautiful ship, ocean, and beach paintings as well as other scenery too.


Nathaniel was so sweet, he even surprised my sister with one too which you can see here!


I definitely want one of his gorgeous beach scenes too! As well as one with waves crashing on rocks! His ocean colours and stormy skies just bring so much emotion to me every time I look at my pretty painting!

If anyone is interested in seeing his collection of beautiful oil paintings or would like to buy one please contact me and I will put you in touch with Yves. And in the meantime BOTH Nathaniel and I are going to bug him until he makes a website so everyone can marvel at his talents! OR at the very least help him create an etsy shop!

Cane Table Transformation

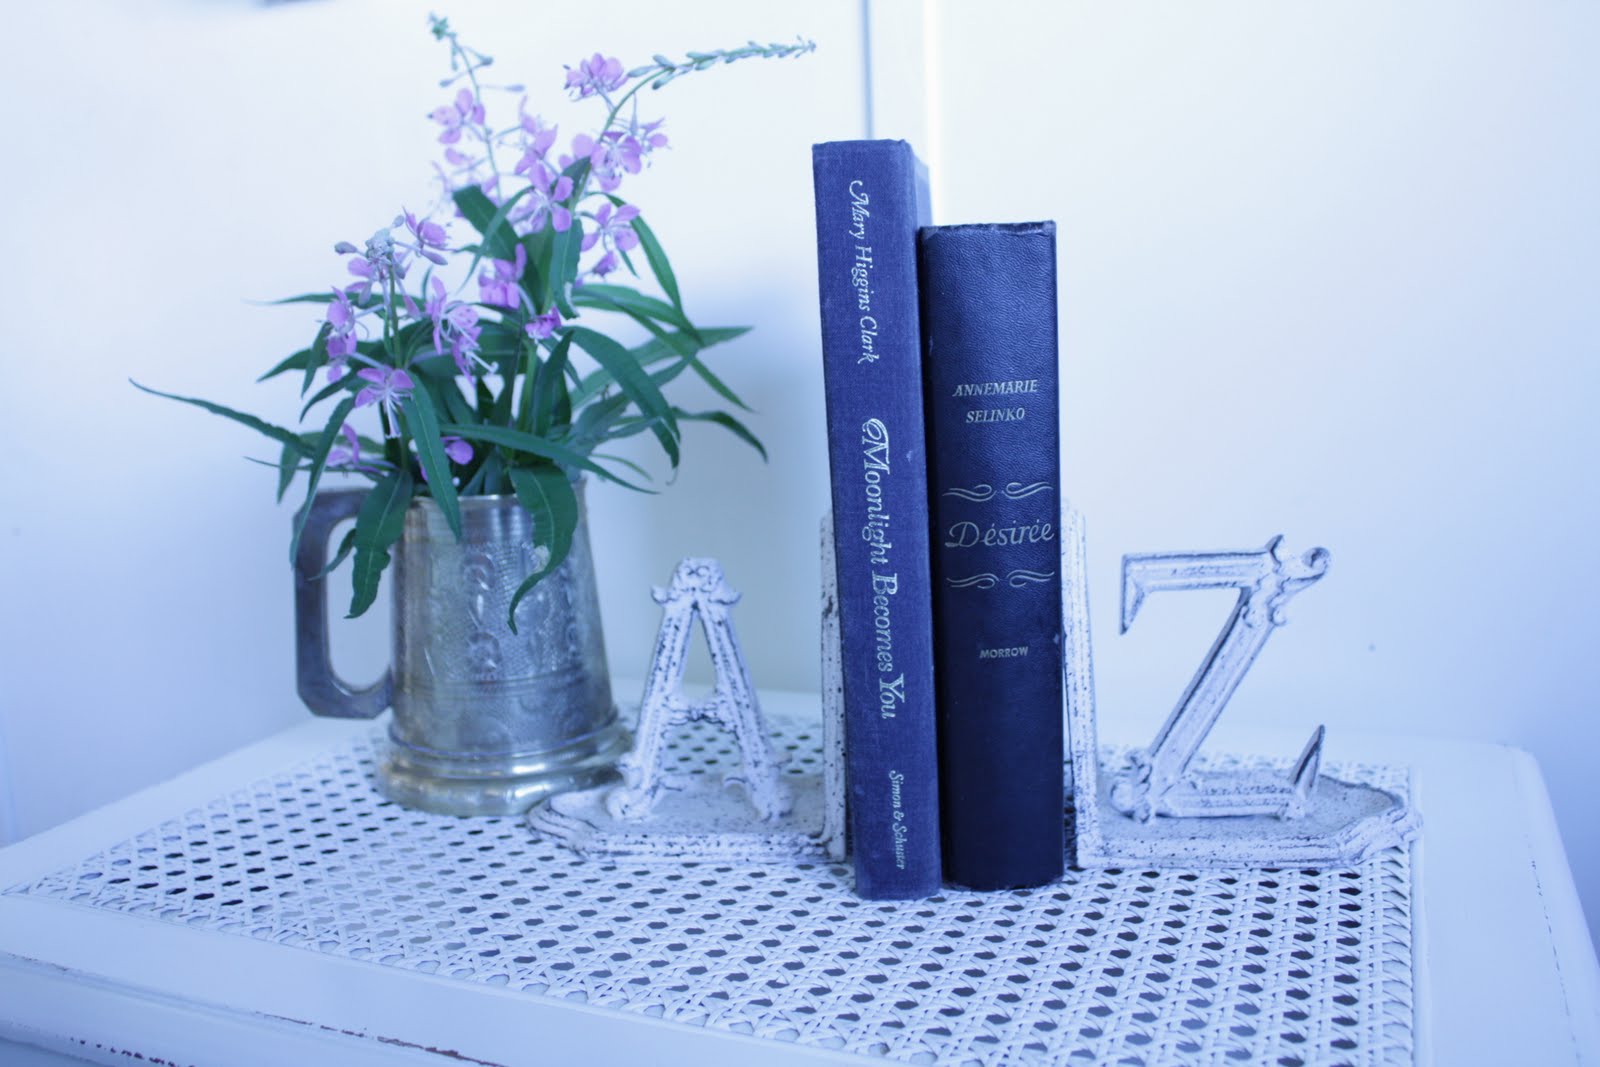
Just yesterday I posted a preview of a few furniture transformations I have up my sleeve...well here's that sweet little cane end table with soooo much potential! Jessica actually picked this guy up for me a few weeks before our visit! She KNEW I would love it....love is an understatement here...

I almost went with a shade of grey on this guy...but at the last moment I decided on a sweet cream.


It's just the right size to hold a few books beside the couch.


I love the carved rings on the little legs and the cane top adds so much interest to such a small table.


Just a little distressing around the edges and legs makes it look like it's been loved for years (and I'm sure it has been).


Just one more piece of furniture I hope I can find room for :)